Foxit Admin Console Cloud is hosted by Foxit and is ready to use after the enterprise receives our email that contains the Admin Console URL and other configured information. Before getting started, you (the super admin) need to activate the Admin Console by doing the following:
- Open your web browser and visit the Admin Console URL. The URL has been provided in the email from Foxit after you purchased Foxit Admin Console.
- The activation requires an internet connection. To activate, log in to the account you purchase Foxit Admin Console with.
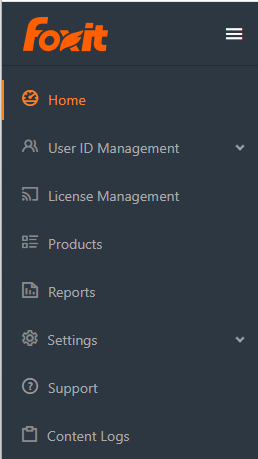
After successful activation, click Get Started. Then a wizard (a small green message box with on-screen instructions) for some items in Admin Console prompts to help you get started. There are a series of items in the left part of the Admin Console window, including Home, User ID Management, License Management, Products, and more. Select an item or a sub item to open the associated page on the right side and do the settings as needed.
(Optional) When you move the cursor over the administrator avatar in the top-right corner of the Admin Console window, your account information (the email address or user name, and the admin role) appears as well as a drop-down menu. Click the Log Out command in the menu to log out of Foxit Admin Console. Click My Profile to view and manage account information and contact details in the Personal tab, and perform more advanced operations in the Privacy and Security tab which is only available to the super admin.
In the Personal tab:
- Personal Info/Enterprise Info – Display personal details like name and email, along with the enterprise information.
- Bill contact/Technical contact – Modify the contacts that were specified during the purchase of our products as needed.
- Client support contact – Designate a user to offer support for client access issues; contact information will appear on some client prompts.
In the Privacy and Security tab (available only to the super admin):
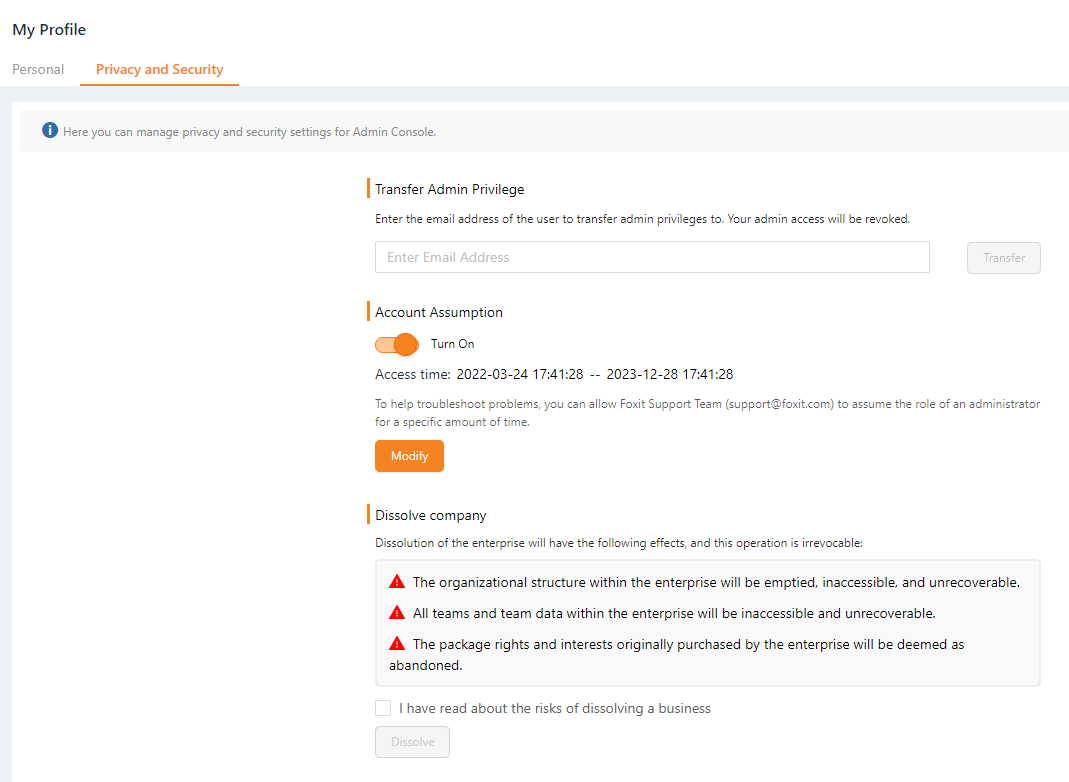
- Transfer Admin Privilege – As the super administrator, you can transfer your administrative privileges to another user. Under the Transfer Admin Privilege section, enter the email address or user name of the new super admin and click Transfer. (Note: This operation only revokes all of the administrative control and access to the Admin Console, without removing your user account from Admin Console.)
- Account Assumption – Foxit takes the security of your data seriously, and cannot access your information without your permission. You can enable (Turn On) account assumption to grant Foxit’s support team temporary access to your Admin Console account for troubleshooting or account settings. Once enabled, select the desired duration for access (e.g., 1 week, 1 month, 3 months, etc.), and then click Confirm. nbsp;
- Dissolve Company– If your company no longer needs to use Foxit products or your Foxit Admin Console expires, you (the super admin) can dissolve your company in Foxit Admin Console to close your company’s account and remove all of the associated data from Foxit. Before the dissolution, be aware of the effects or risks of dissolving a company, which you can read on the page. If you are ready to dissolve your company, check the I have read about the risks of dissolving a business box, and click the Dissolve button. Then you need to provide your email address and the verification code you receive to complete the dissolution. Note that the operation is irrevocable.
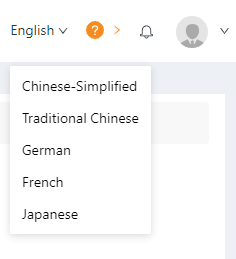
(Optional) You can change the UI language for the Admin Console from the top-right corner of the Admin Console window.
Notes:
- When you log in to Admin Console, if you are an admin for multiple organizations and use the same account to log in, a dialog pops up for you to select an organization. (Tip: If you want to use another account to log in, click the Relogin button in the dialog box to go back to the login page and enter your account to log in.) Once logged into a specific organization with admin rights, you can easily switch to another organization. To do this, select the desired organization's name from the dropdown menu located at the top right corner of the Admin Console window.
- Super admins can manage multiple organizations across different regions. Each Admin Console instance stores user data in its regional data center, and the region label (for example, “US Datacenter”) appears beneath the organization name. For instance, a global company with offices in US, Canada, Europe, and Australia can maintain separate Admin Console instances (US Datacenter, Canada Datacenter, Europe Datacenter, and Australia Datacenter) to manage each region’s users and products—all through the same super admin account.
- A super admin account can own only one Admin Console instance in a single region.