The Foxit PDF Creator Plugin in Microsoft Visio provides quick and easy PDF creation from Visio files, while preserving the document properties in the created PDFs depending on the conversion settings.
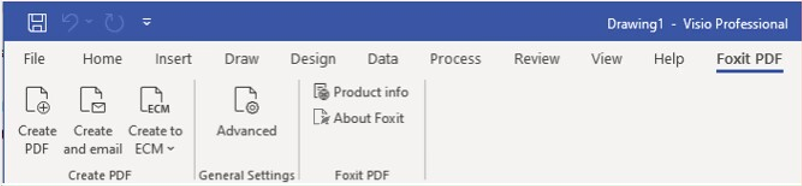
The Foxit PDF tab in Microsoft Visio
To create a PDF in Microsoft Visio, please open a file in Microsoft Visio, click the Foxit PDF tab and do one of the following:
- To create a PDF using the current settings, click the Create PDF button. Then enter the file name, specify the location, and then click Save.
- To create and email a PDF using the current settings, click the Create and email. Then enter the file name, specify the location, and click Save. The created PDF file will be attached to your mail system automatically for you to send out.
- To create a PDF and save it to SharePoint, click Create to ECM. Please refer to “Save the created PDF to ECM” for more information.
To customize your PDF conversion settings before creating PDFs, click the Advanced button and select the desired options as needed in the pop-up Foxit PDF Editor Add-in dialog box. For details, please refer to Conversion Settings in Microsoft Word. You can retain all layers or flatten all layers in the created PDFs by choosing Retain All or Flatten All for the Layers setting in the Foxit PDF Editor Add-in dialog box. If you choose to flatten layers, the created PDF will seem like the original Visio drawing, but without any layer information.
Notes:
If you check Create Bookmarks, the created bookmarks will be named after the page name in Visio files.
Only shapes and guides that are printable and visible in the Visio drawing will be converted and will appear in the created PDF.