To add image objects, please do one of the following:
- To add a self-created image or embed an image from the clipboard, locate the page where you want to insert the image in the document, and choose Edit > Add Images > Draw New Image. The Add New Image dialog box pops up. You may specify the parameters and click OK. Then you are switched to the Image Editor window where you can draw and edit your image with the commands in the Image context tab on the ribbon and the Format tab in the right panel.
A. Draw your image from scratch, or click the Paste button in the Image context tab to insert an image from the clipboard and then edit the image. Click Save as Image to save the image content in the window as an image file. Click Copy to copy the image content which can be pasted to a PDF document.
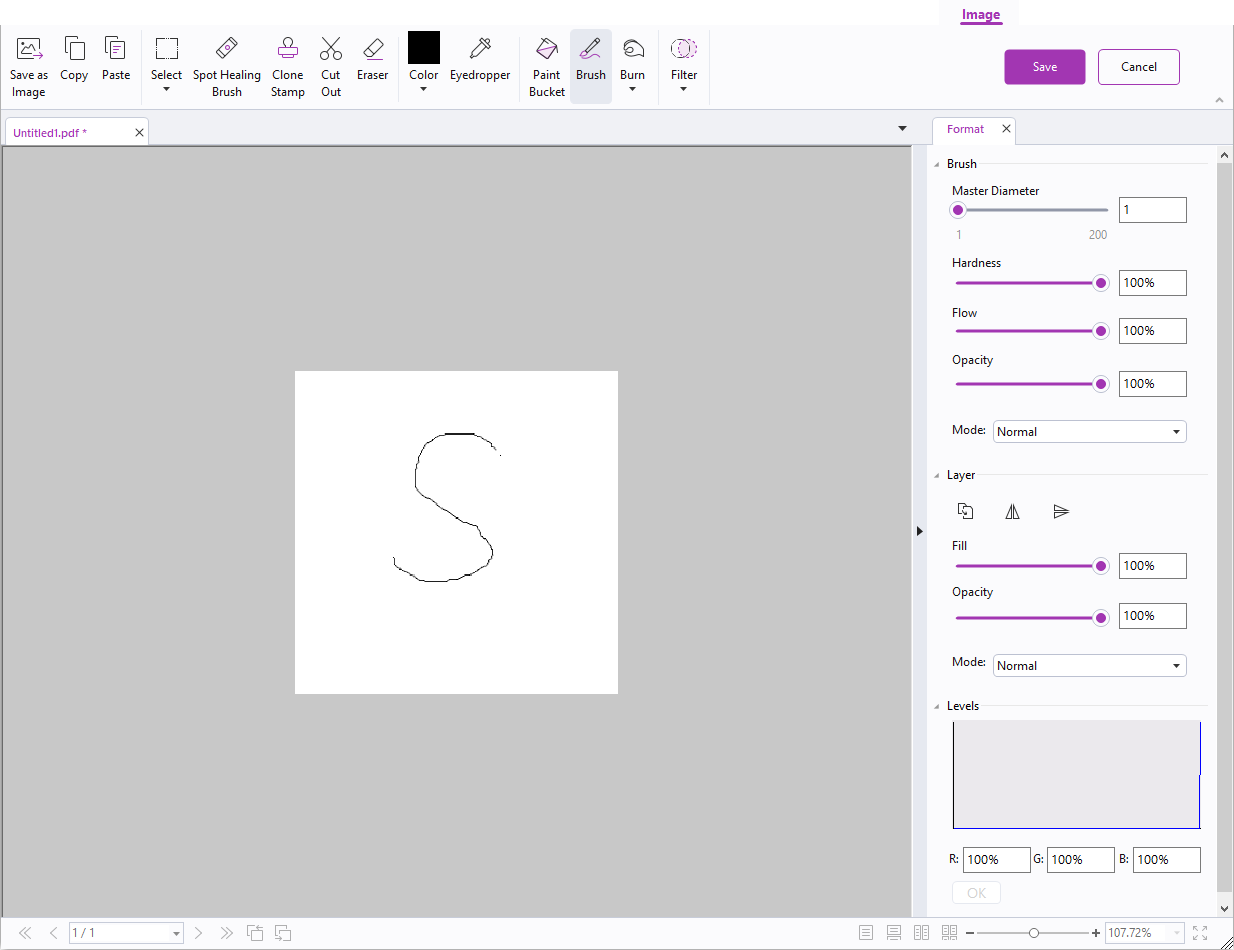
The Image Editor window
B. To draw or edit an image, you can use the commands in the Image context tab and the Format tab. For more information on the Image Editor, please refer to About the Image Editor.
C. Click the Save button to save the changes and exit the Image Editor window. Or click the Cancel button to exit ignoring the changes on the image and to go back to the Document window. After the image is successfully inserted, you can resize the image and drag it to any place you want.
- To add an image from a file, locate the page where you want to insert the image in your document, and choose Edit > Add Images > Image From File. Choose the target image file in the Open dialog box and click Open. Then the image will be added to the document. You can double-click the image, or right-click the image and choose Edit Object, to open the Image Editor windowand edit the image with the commands in the Image context tab.